Easter Dress and Matching Vest - My First Designs
Originally posted on 05/11/2010
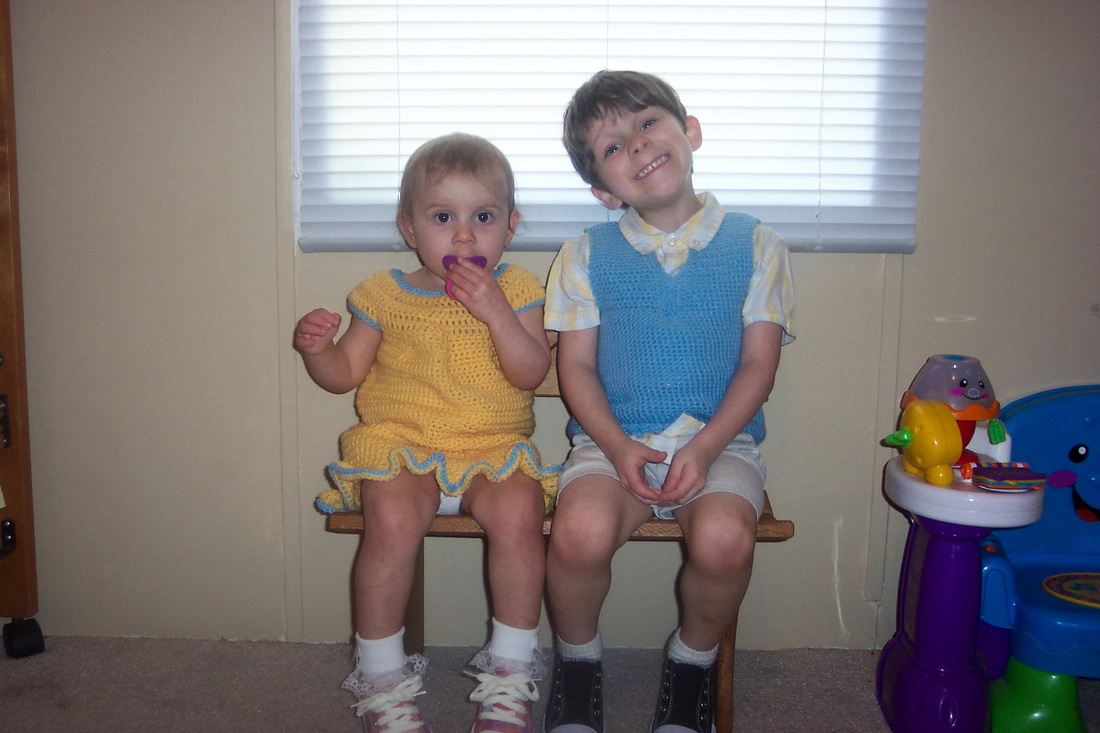
As I mentioned in my earlier post, I decided to make my daughter a dress for Easter this year. I also wanted to make my son a vest so their clothes would match. After making a dress that was too thick for a southern Easter and
searching for days for a simple boy's vest pattern and not finding what I wanted, I decided to design them myself. Most importantly, I didn't want to sew a bunch of pieces together. This is what I came up with...
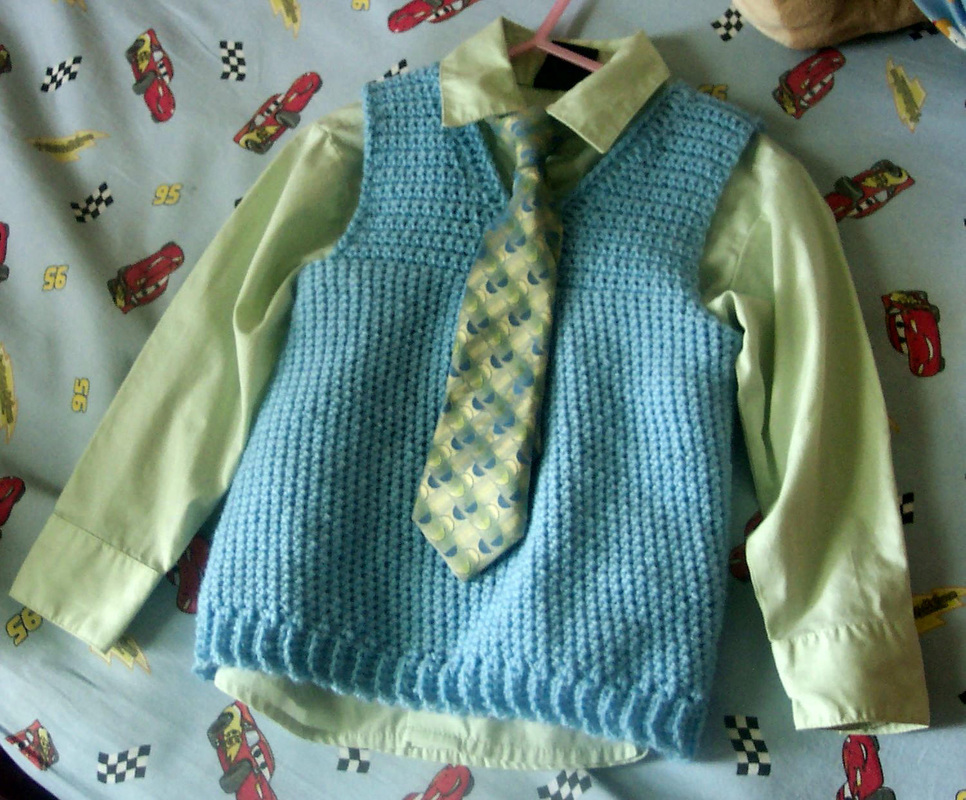
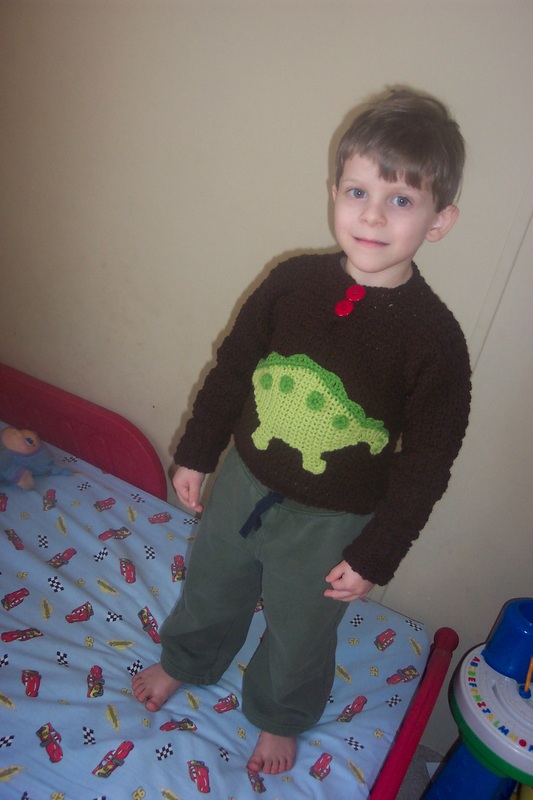
I made the vest first. To start, I drew a simple diagram of what I wanted the front and back of the vest to look like. I took my son's measurements and calculated the measurements for the specific parts of the vest. Then I made a
gauge swatch and converted all of the measurements for the pattern from inches
to stitches or rows.
gauge swatch and converted all of the measurements for the pattern from inches
to stitches or rows.
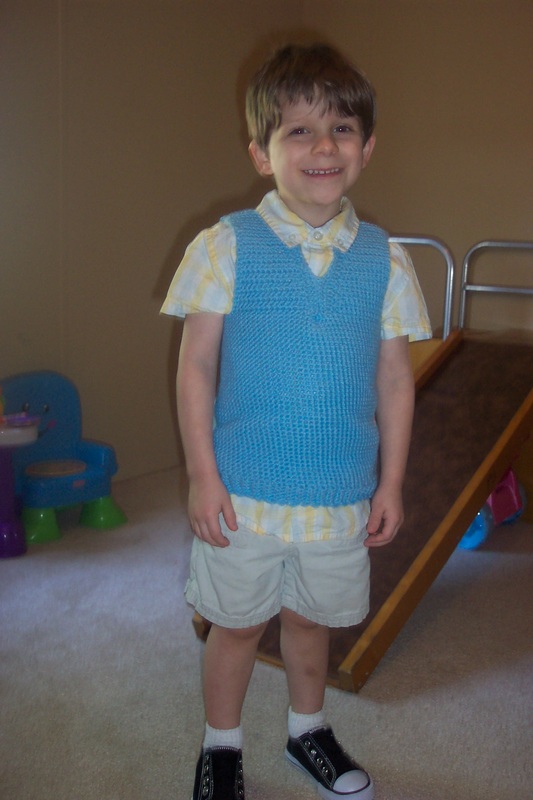
After creating the diagram, I actually wrote out the pattern row by row. The vest was made from the bottom up in one piece to the chest. The left and right front and back pieces were then created and crocheted together at the shoulders. There was no sewing involved in the making of this vest. To finish, I crocheted a row of double crochets around the neck and slip stitched them to the chest piece. The "V" was too deep and made the vest look quite feminine (per my
husband). To correct this, I slip stitched the bottom eight double crochet stitches on the left and right together. I am very happy with the way it turned out, and the finished vest even got the approval of my husband.
husband). To correct this, I slip stitched the bottom eight double crochet stitches on the left and right together. I am very happy with the way it turned out, and the finished vest even got the approval of my husband.
The dress was created basically the same way. I drew a diagram of what I wanted the dress to look like. It was less than a week before Easter so I tried to make it as simple as possible. I used the same brand of yarn and the same size hook as for the vest so the gauge swatch made previously was used to determine the number of stitches and rows needed based on my daughter's measurements. The dress was crocheted from the top down. There was no sewing needed to make this dress either.
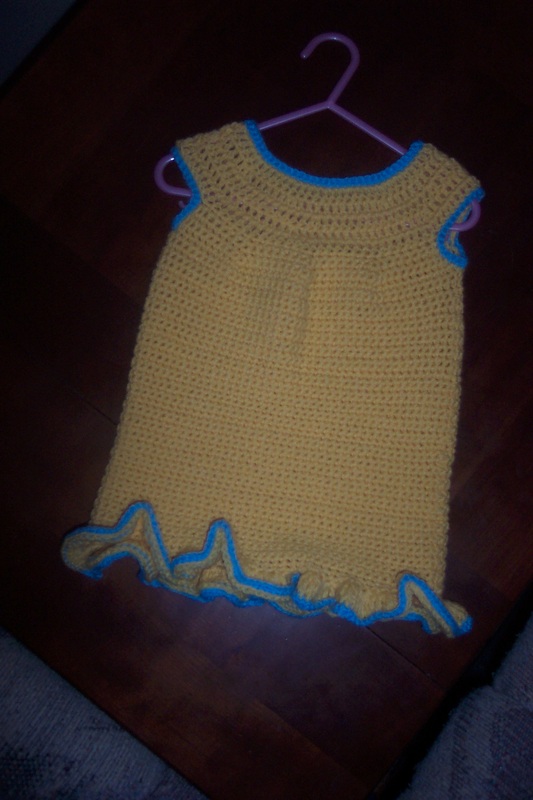
I did not type this pattern up because there were some mistakes that I did not correct as I went. I haven't made this dress again. If I do, I will correct the mistakes and type it up.
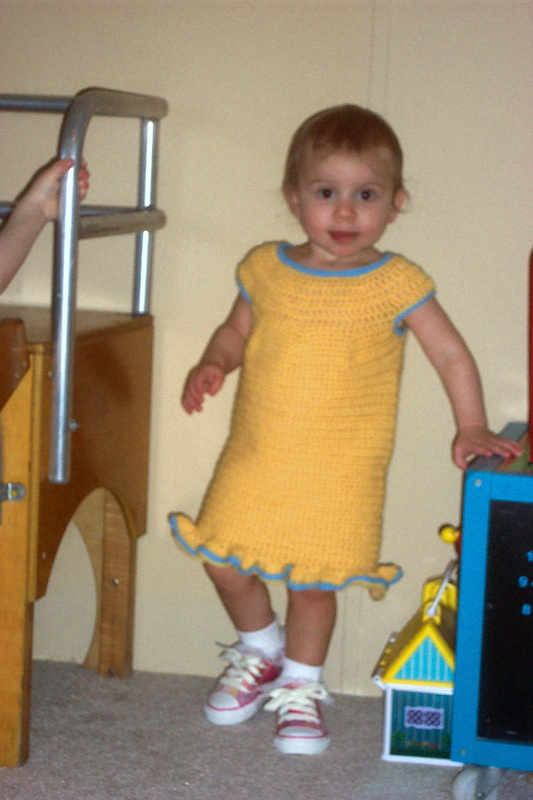
While the dress turned out pretty cute, I was not very happy with the fit. (It reminded me of a night gown). So I decided to improve my crocheting skills by learning new stitches and shaping techniques. In my next post, I will share the
inspiration for and process I used to create a better, much prettier dress for my daughter.
inspiration for and process I used to create a better, much prettier dress for my daughter.
 RSS Feed